Setting Up Your Virtual Machine (GNU/Linux) – The Final Steps
Setting up passthrough on GNU/Linux is a breeze. You won't need extra drivers like VirtIO because GNU/Linux has what you need built right in. This makes the setup smoother and simpler.
1. Important Considerations
1.1 UEFI and BIOS
When setting up your virtual machine, make sure you download a UEFI-compatible ISO file. GNU/Linux comes in both BIOS and UEFI versions, so it's important to choose the right one.
If you don't use the correct version, your system might not boot properly.
1.2 Picking a GNU/Linux Distribution
Choosing a GNU/Linux distro is all about personal preference. Whether you like Arch Linux, Ubuntu, or NixOS, it's up to you. The passthrough setup process will be similar no matter which one you pick.
2. Getting Started
2.1 Download the GNU/Linux Distribution ISO
First things first, download the ISO file of the GNU/Linux distribution you want to install. This is the starting point for your passthrough setup. To speed up the download, you can use aria2 with this command:
aria2c -x 16 "your_gnu_linux_iso_file.iso"
With your ISO ready, let's move on to setting up the VM.
3. Setting Up the Virtual Machine
Now that you have your ISO, it's time to create your VM with Virt-Manager:
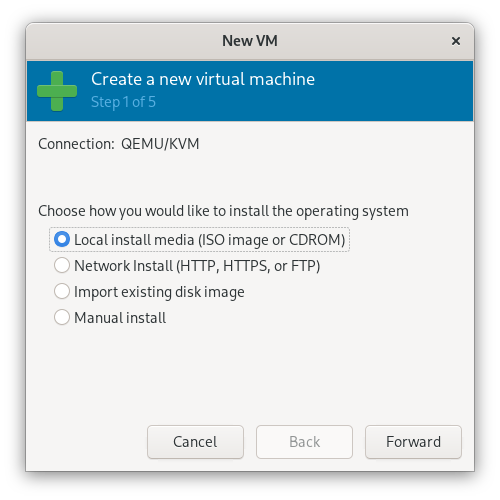
3.1 Create a New VM
Open Virt-Manager and start a new VM setup. Choose Local install.
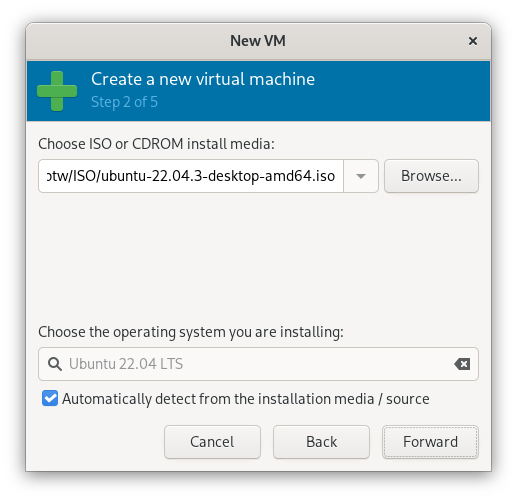
3.2 Choose the ISO
Select the GNU/Linux ISO you downloaded as the installation media.
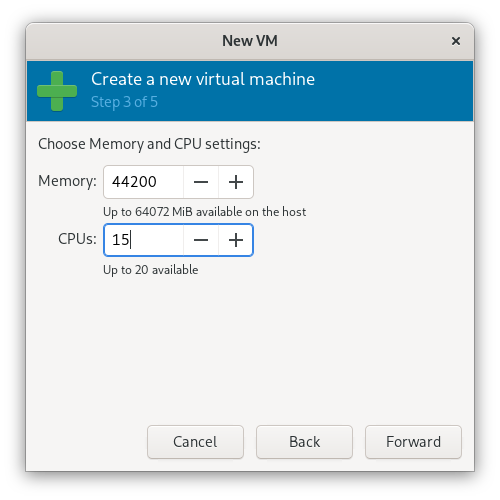
3.3 Configure RAM and CPU
Set how much RAM and how many CPU cores you want for your VM.
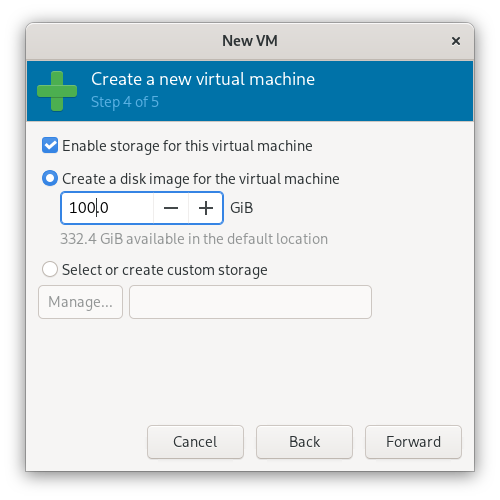
3.4 Set Up Disks and Enable Storage
Allocate disk space and enable storage support.
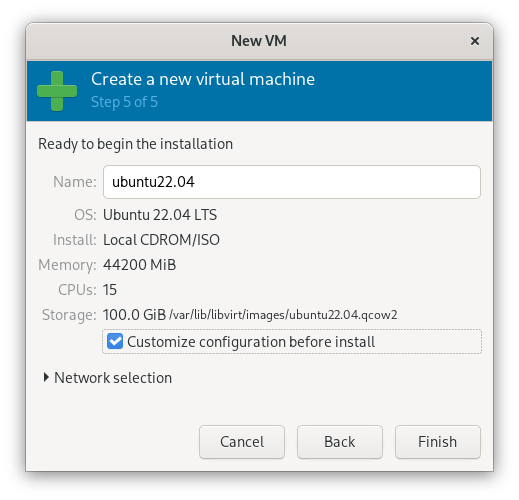
3.5 Ready to Install
Make sure custom settings are enabled for the installation.
4. Preparing for Installation
With your VM set up, let's prepare for installing Linux:
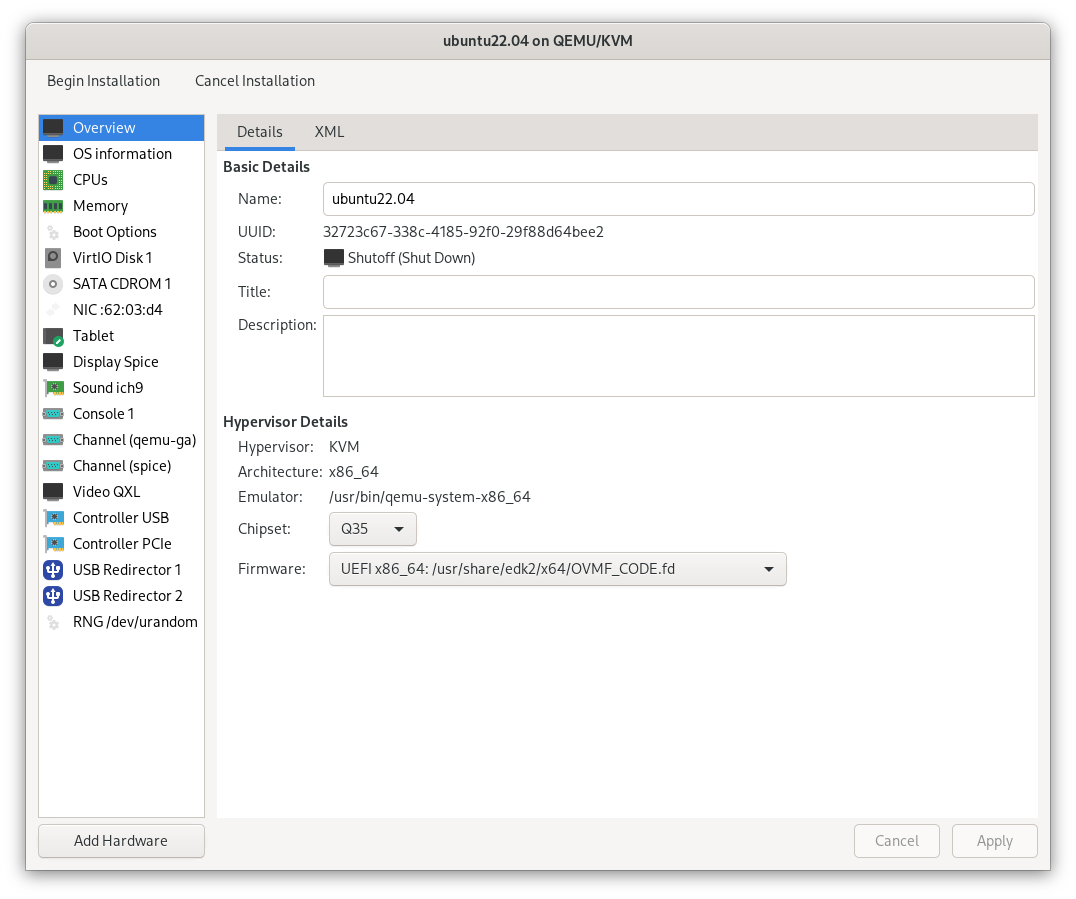
4.1 Choose UEFI Firmware
Select the UEFI firmware option for your VM, like UEFI x86_64 OVM_CODE.fd.
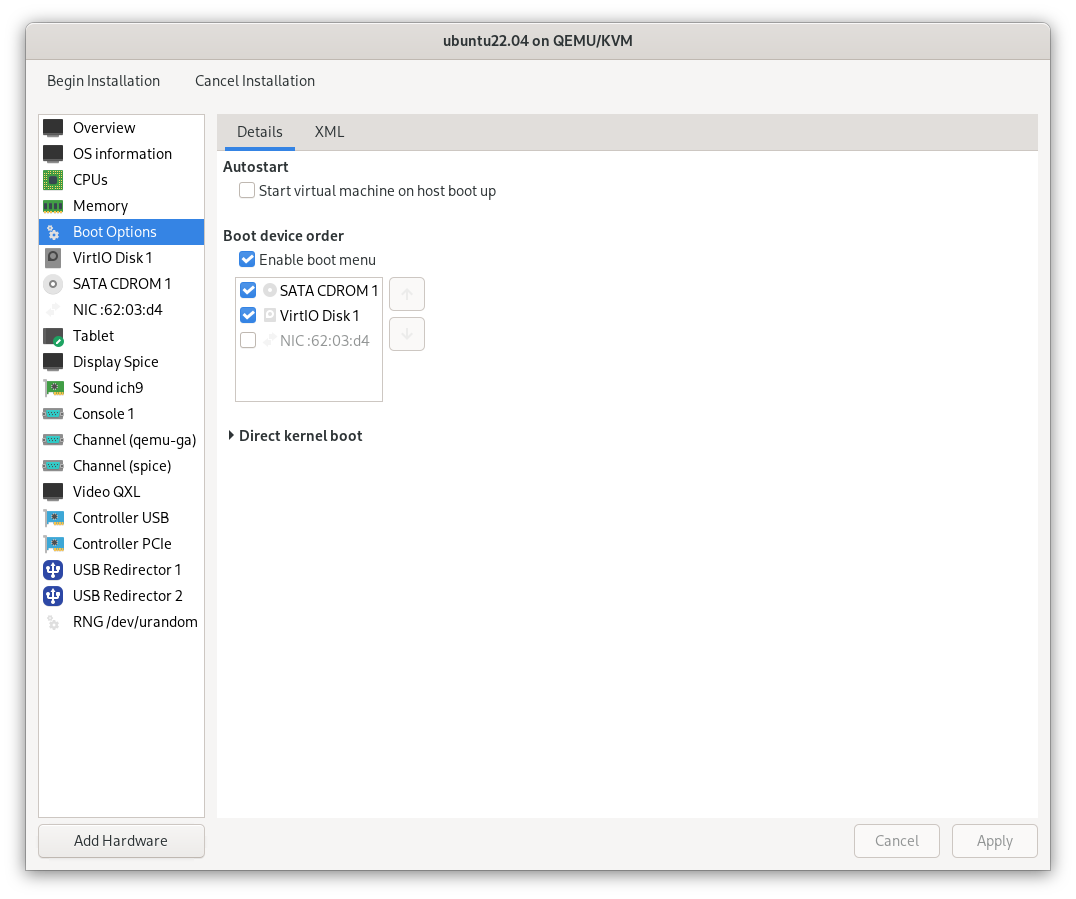
4.2 Configure Boot Options
Enable the boot menu and set SATA CDROM1 as the first boot device to boot from the ISO.
Now your VM is set up to start the GNU/Linux installation process. Click the Begin Installation button to proceed.
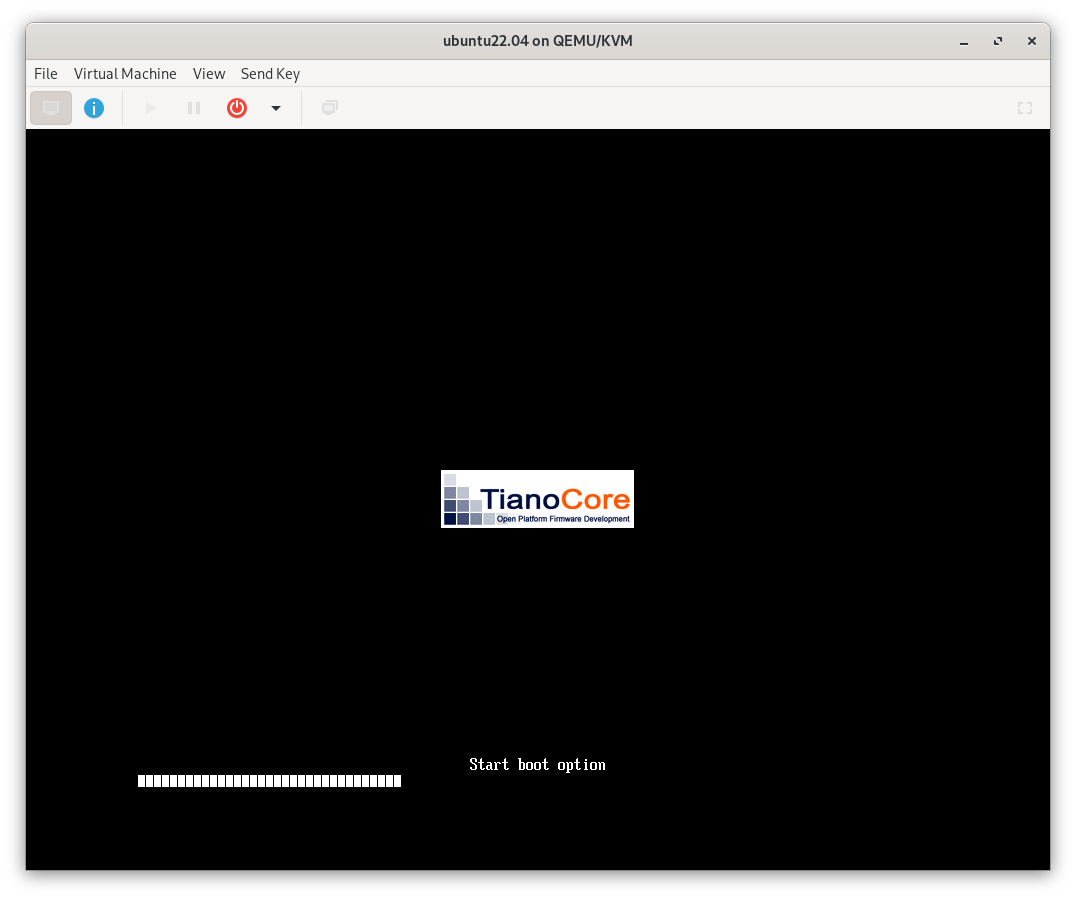
4.3 TianoCore
When you start your VM, you should see the TianoCore UEFI logo.
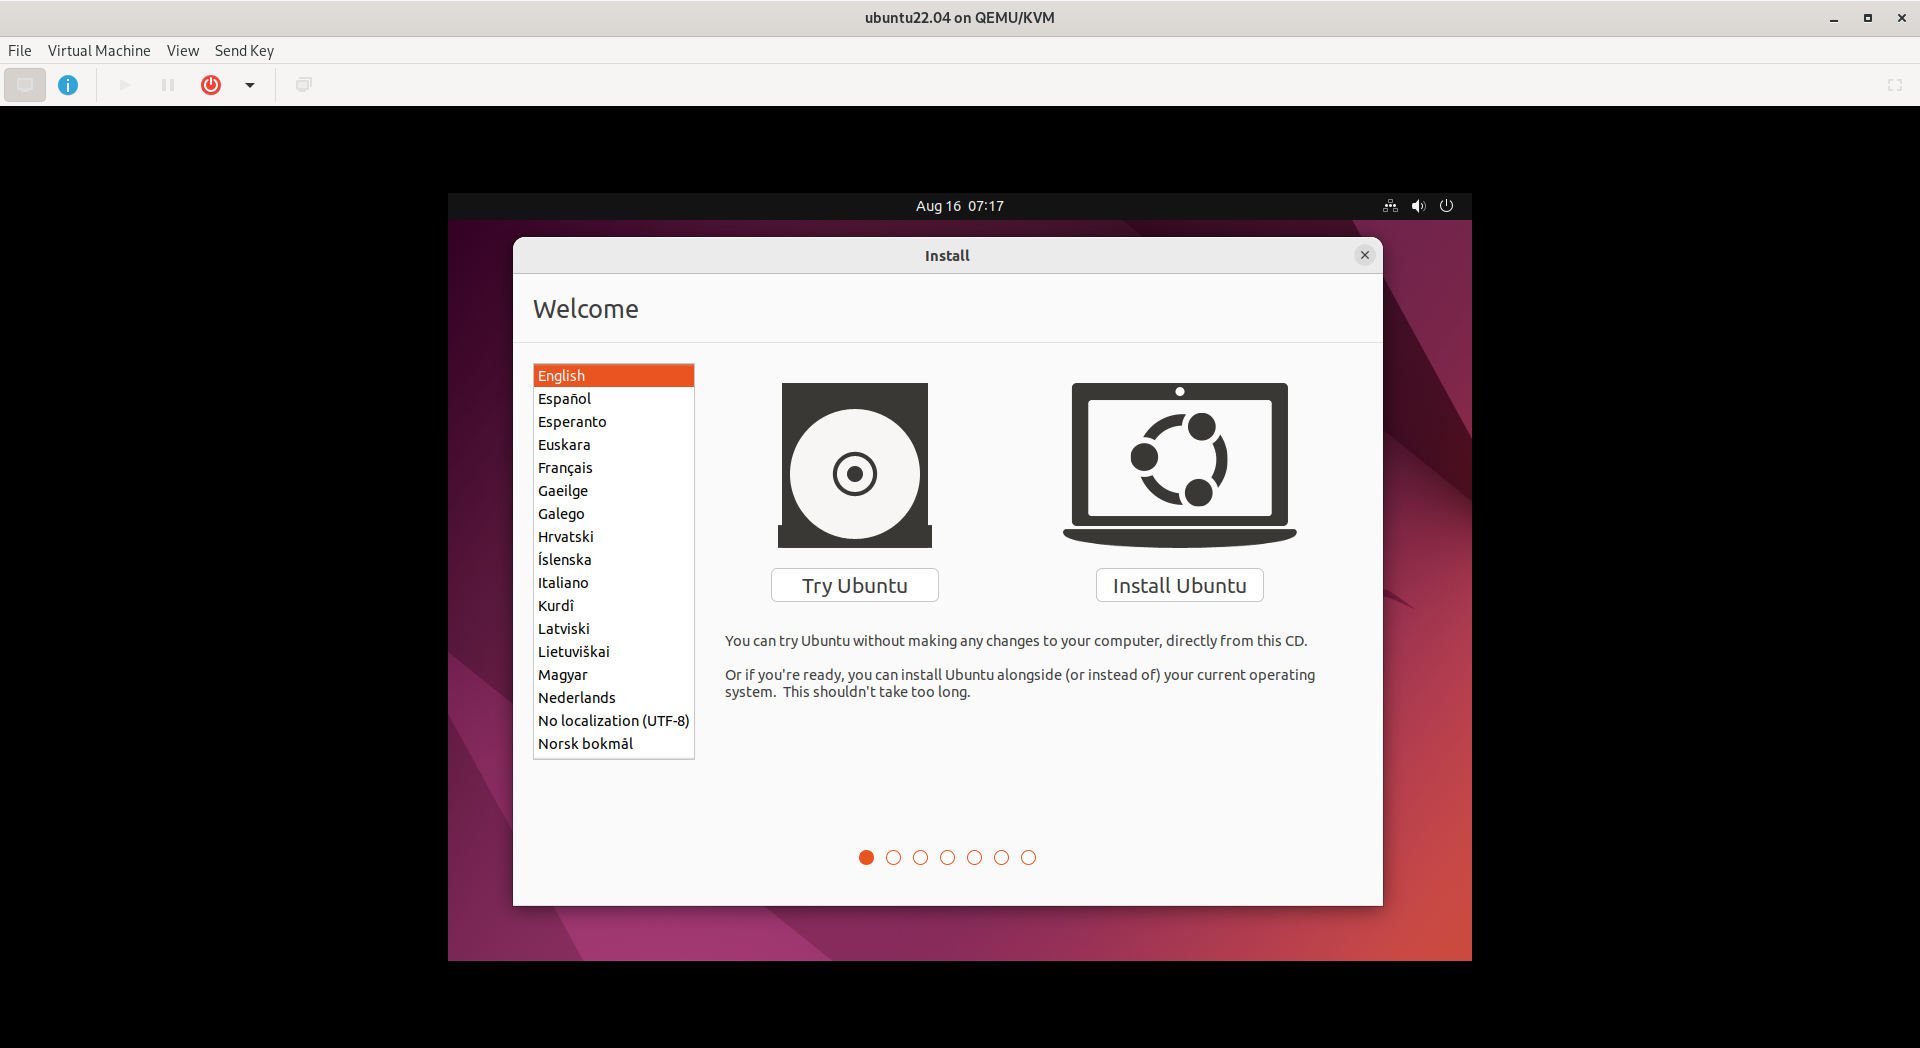
5. Installing Your GNU/Linux System
Now, install your chosen GNU/Linux distribution on the VM. Follow the usual installation prompts:
- Boot from ISO: Start the VM and boot from the ISO.
- Follow Prompts: Choose your language, keyboard layout, and disk partitions.
- Update and Install Software: After installation, update your system and install any needed software.
With GNU/Linux installed, you're almost done with the passthrough setup. Next, we'll enable network access and GPU passthrough.
6. Configuring Hardware Passthrough
Here's how to get network access, upgrade your system, and set up GPU passthrough:
6.1 Adding Hardware
- Power Off the VM: Make sure your VM is off.
- Add PCI Devices for GPU Passthrough: In Virt-Manager, go to
Add Hardwareand choosePCI Host Device.Add your GPU and GPU audio device. - Add a PCI Network Device: Also, add a PCI network device.
- Apply Changes and Start the VM: Save the settings and start your VM.
6.2 Upgrading Your System
Open a terminal and run:
sudo apt-get update -y
sudo apt-get upgrade -y
sudo apt-get full-upgrade -y
Reboot your VM. Your GPU should now be passed through.
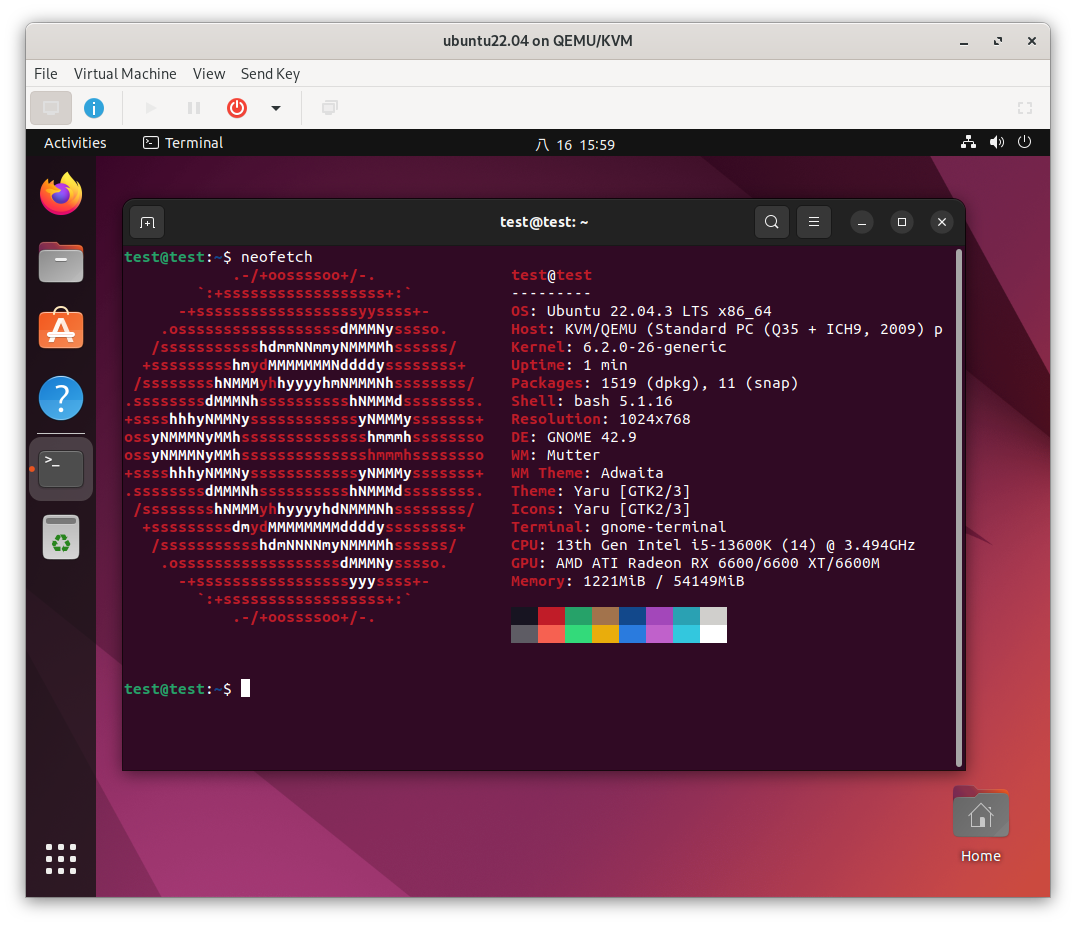
6.3 Checking GPU Passthrough
Install neofetch to check if the GPU is recognized:
sudo apt-get install neofetch
Run neofetch to see your GPU details.
7. Optimizing Monitor Configuration
For the best visual experience, adjust your monitor settings:
- Power Off Your VM: Shut down your VM.
- Configure VM Video Settings: In Virt-Manager, go to the
Videosection and select theRamfbdevice model. - Switch Monitor Input: Change your monitor's input to HDMI2 or another secondary option.
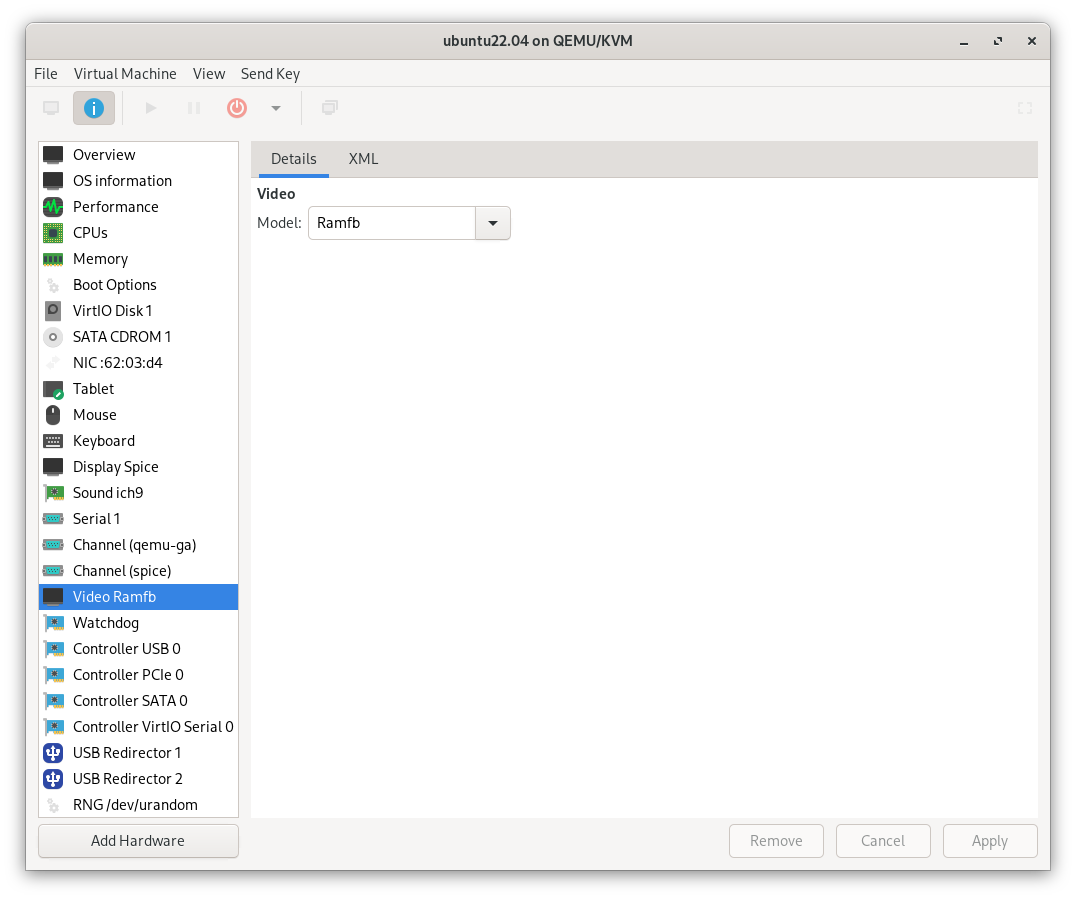
Now, your monitor should display the VM's output on the secondary input.
You're All Set!
Congratulations! You've successfully set up a GNU/Linux virtual machine with GPU passthrough. Enjoy the power and flexibility of your new setup.